 |
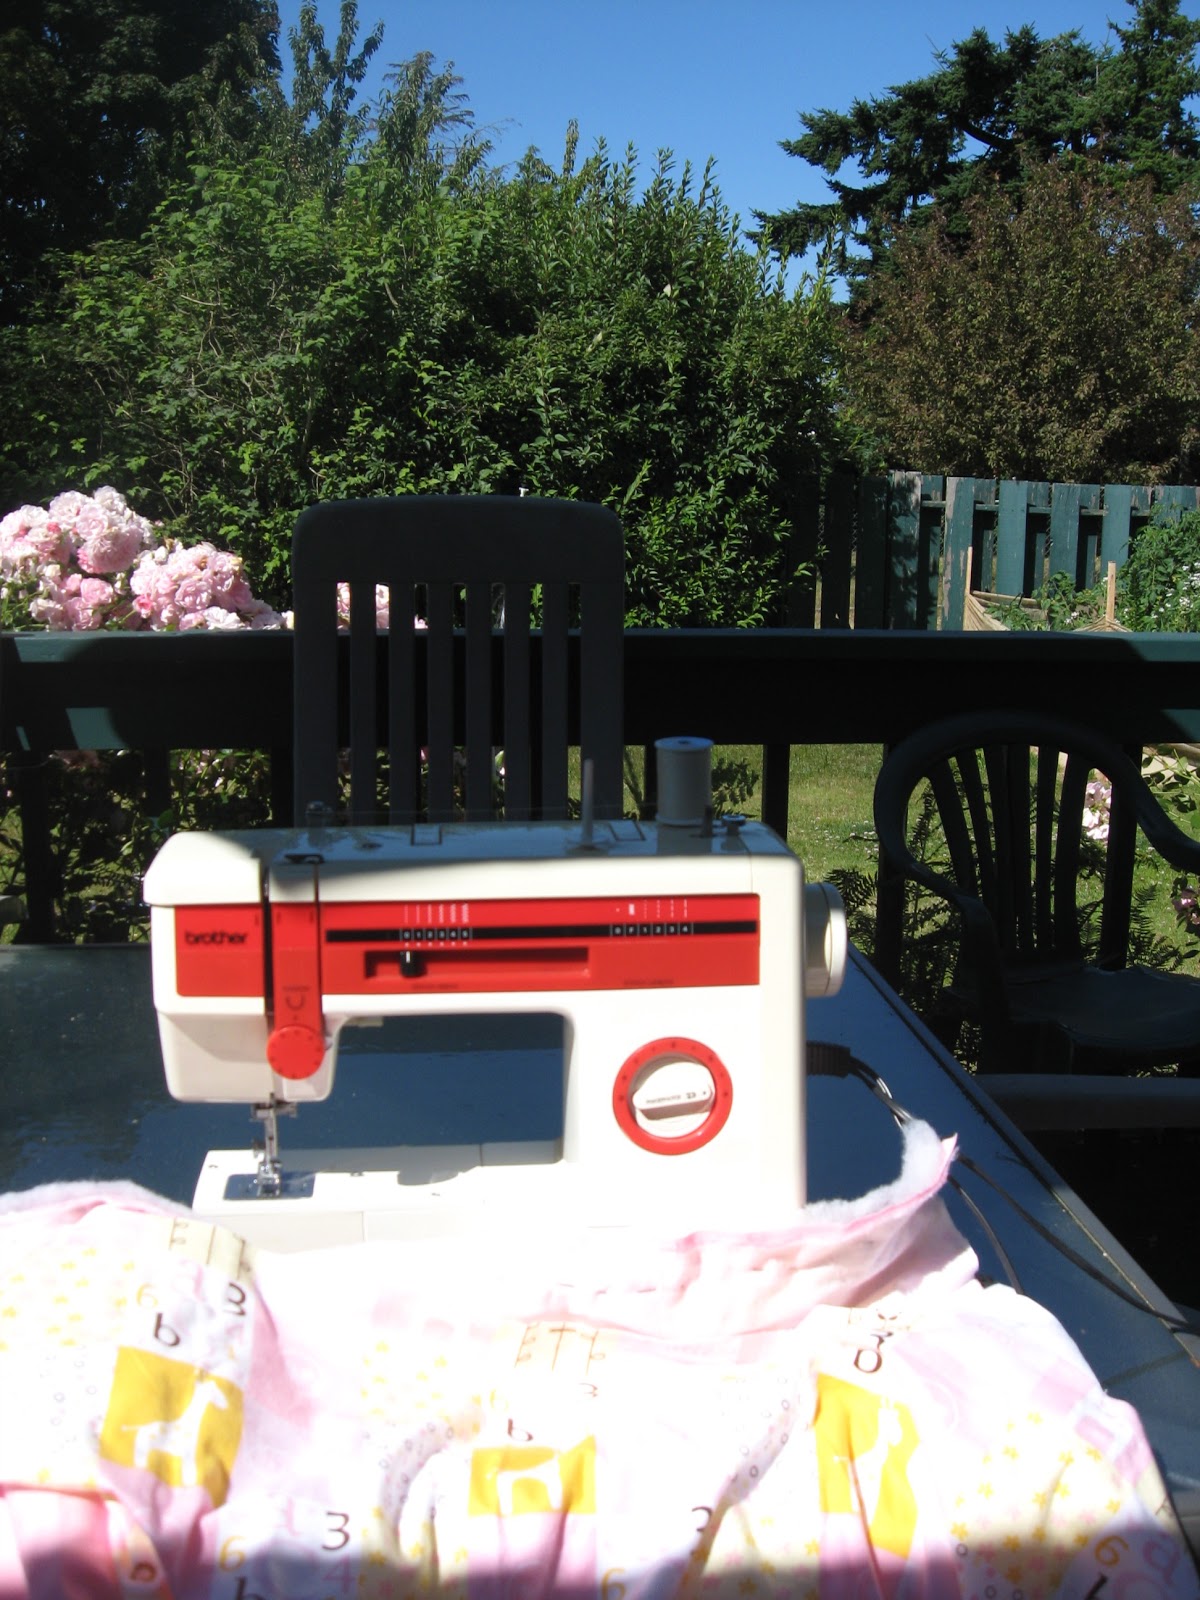
| I couldn't resist taking a picture of this sewing machine in a gift shot; it looked exactly like my grandmother's. |
IWhen I was 18 I made a cover for one of my own quilts. When my sister-in-law Lesley, who is a first-class seamstress (she even made her daughter's wedding gown!) made me a baby quilt, I had to ask her how she did it. Since then I have made several, and for most of my grandkids I either a crocheted blanket or made them a flannel one. Here's some easy directions for you to follow:
Easy 1 - 2 - 3 - 4 - 5 Baby Quilt Making
1. Go to your favorite fabric store and buy about 1 1/2 yards of printed flannel, plain flannel for the bottom, and batting. Here's a neat site I found to tell you a little about different types of batting called Sew, Mama, Sew! By the way this site also has a Sewing Tutorial that you can click on and see steps to help you with a lot of sewing projects.
2. Prewash your fabric and then Iron it so it's flat. (I found out by reading on this site that there are different camps on washing or not washing, so do what works for you!)
 |
| Pinning the 3 layers of your quilt. |
 |
| Sewing the quilt. |
5. Decide how long you want your yarn ties to be. Lesley informed me that they are usually 3-4" long but you can make them shorter or longer. Thread a piece of yarn into a large holed needle and bring it through all 3 pieces parts of the quilt and then even up the thread and tie a knot in the center. These ties hold all three layers together so they move together. If you don't do this over time, your batting will become a ball inside your quilt! Been there, done that!
 |
| Adding the yarn ties. |

If you want to make a patchwork quilt instead, Sew, Mama, Sew has a great tutorial: http://sewmamasew.com/blog2//04/quilting-basics-preparing-cutting/.
2010
what a lovely quilt, i finished one last year an it was such a delight
ReplyDelete